Lately I’ve seen some information on the web regarding how and when to change the chain on my bicycle. One suggested checking the length from one link to another using a ruler. If I remember correctly, I line up the zero on the ruler to a pin on the chain. The 12 on the ruler should line up with another pin. In my case it was off by about 1/8 inch. The other thing I noticed was daylight between my chain and the big chain ring! This is definitely bad.
Eventually, I ordered a new chain from performancebike.com. I bought the KMC X10SL CP 10 Speed chain. As I have a 10 speed cassette, that made sense. I paid a lot more for this chain that if I had bought a Shimano CN105, but this chain comes with a master link. Basically, if I need to remove the chain all I have to do is un-snap the link and voila, the chain can be removed.
I also ordered the Park Tool CT-3.2 chain tool. This tool is handy for removing pins from a chain so that you can remove it (I don’t need the tool now), and also for putting on new chains. I like it because it has a nice large handle that gives lots of leverage. It also has a very smooth action.
My next lesson was figuring out how to measure the new chain – in other words, make sure that it was long enough, but not too long. In the end I opted for the “hold it up next to the old chain and that’s how long it needs to be” method. Of course, the old chain was way stretched, and laying them out on the floor wasn’t that helpful. The best thing I did was to put both chains onto the chain tool so they were hanging side by side. Then I compensated for the stretch in the old chain and made my mark. At this point, it was just a matter of removing a pin from the new chain with the chain tool. I now had a new chain the exact size I needed.
Before you remove your old chain, make sure you know how to thread the new chain around the jockey wheel and pulley.
I attached the master link, with the help of needle nose pliers (the instructions say to just pull in opposite directions on the new chain, but it wasn’t moving and I didn’t want to ram my hand into the chain ring), I got it installed. Took it out for a ride around the block and shifted flawlessly into all gears.
Did I mention the sound? My old chain always made a lot of noise, and I thought it was just the lack of lube. It turns out that noise was another tell tale sign of chain stretch.
Update: After changing my chain, my first real ride resulted in a thrown chain when I attempted to shift into the big chain ring. The lesson learned here is that you may need to adjust the derailleur after installing the new chain. I should not have been surprised, as I adjusted the derailleur a couple of months ago. Most likely, that adjustment was necessary due to the “stretch” in the existing chain. Everything shifts just fine now.
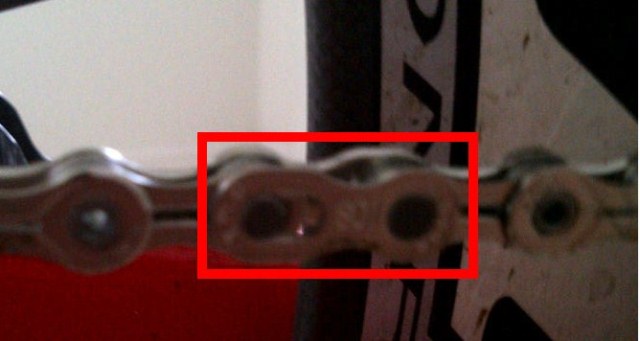
Below is a pic of the master link on the new chain. You can see there is space to move the pin to the right. On the opposite side, the other end of the link has something similar.
